Help Center
Open Training
As a second option you can also conduct an open training. This is compared to the procedures a bit more complex. We therefore explain a typical open training session which consists of 4 training phases.
Preparation and start
- Follow the first steps of preparation from the previous chapter and choose an open training in the selection screen after starting the app
- Tap on Start and have a first look at the measured values
First stage (observe and experiment; determine your initial status)
- You should record your baseline state for 2-3 minutes at the beginning of each session, letting the sensor temperature adapt to your finger. Sit upright and comfortably, and do NOT watch the temperature but simply let the device measure. The temperature should reach a constant level for the actual training to begin.
- In your first session, take ten minutes and try to relax. How you do this is up to your personal preferences and possibilities. Do NOT watch the temperature in the app! Training is about measuring whether relaxation already leads to a higher temperature in yourself.
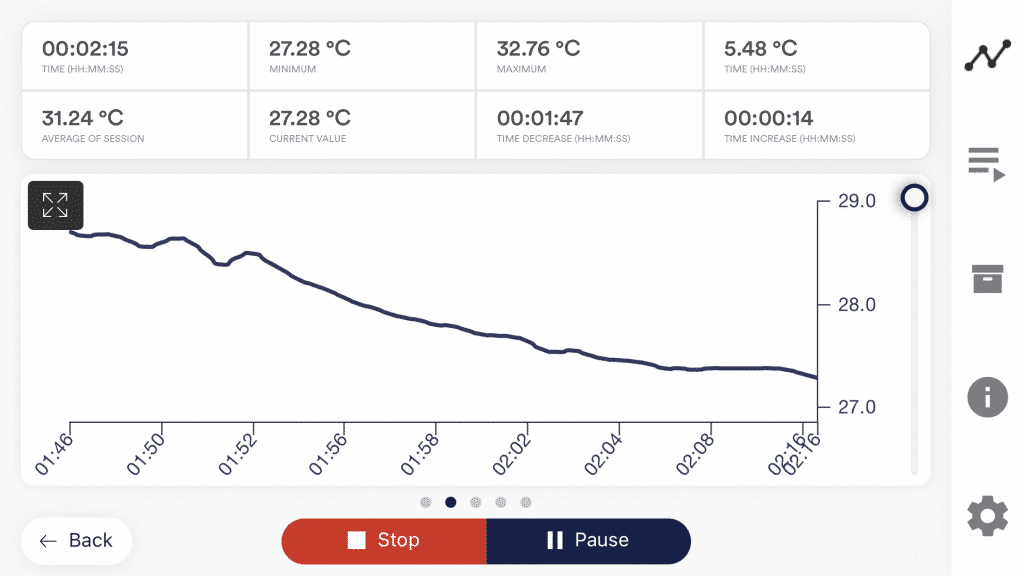
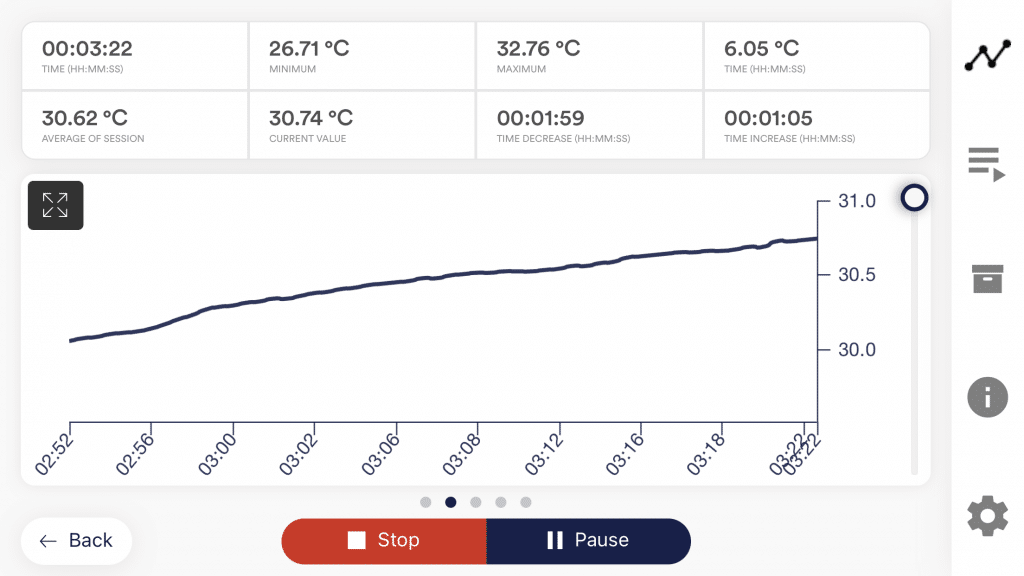
- Now look at the measured values and whether you have already caused an increase in temperature by relaxing. Were there sections of rising values? Did the level remain constant? Or does the curve drop slowly during the measurement? How do you rate your ability to relax during the measurement? You may already be able to determine a relationship between the curve and the tension or relaxation you are feeling. Regardless of whether you’ve succeeded, familiarize yourself with the feedback in the app. Observe the measured values and test whether you are able to influence the temperature at will. After that, the first training phase is over.


- This is your initial training state. Of course, the day also plays a role here: it should make a difference whether you measure after a stressful working day (or even at work) or at the end of a relaxing weekend. Use the corresponding function of the app to export this baseline as a CSV file. You can do this by calling the measurement in the archive. This will allow you to access your baseline later (in addition to the archive) by other ways (such as Excel).

Before taking another measurement, try to pay attention to the daily activities during which you are more likely to have hot or cold hands. These observations may be useful later in further sessions.
Second stage (targeted Biofeedback training with the skin response)
- The second stage consists of multiple sessions.These sessions should always follow the following scheme. Start every session with a 2-3-minute baseline measurement WITHOUT watching the values to reach a steady state.
- Now you can start to train conscious relaxation, using the feedback signal. Watch the temperature values while relaxing and try to find ways to bring them up. It can be helpful to imagine yourself lying in the sun, relaxing in a sauna, or putting your hands into warm water. You can also work with autosuggestion techniques, telling yourself sentences like, “My left hand feels warm…it feels even warmer now…”Feel free to experiment.
- As with every activity, regular practice is the key to success. You should be able to raise your skin temperature by several degrees, unless your baseline is already at 33-34°C / 91-93°F. The colder your hands are in the first place, the more potential you have to raise their temperature. In general, your hands can reach a temperature of more than 36°C / 97°F, which is the temperature of your body’s core.
Third stage (transfer; relaxation without feedback)
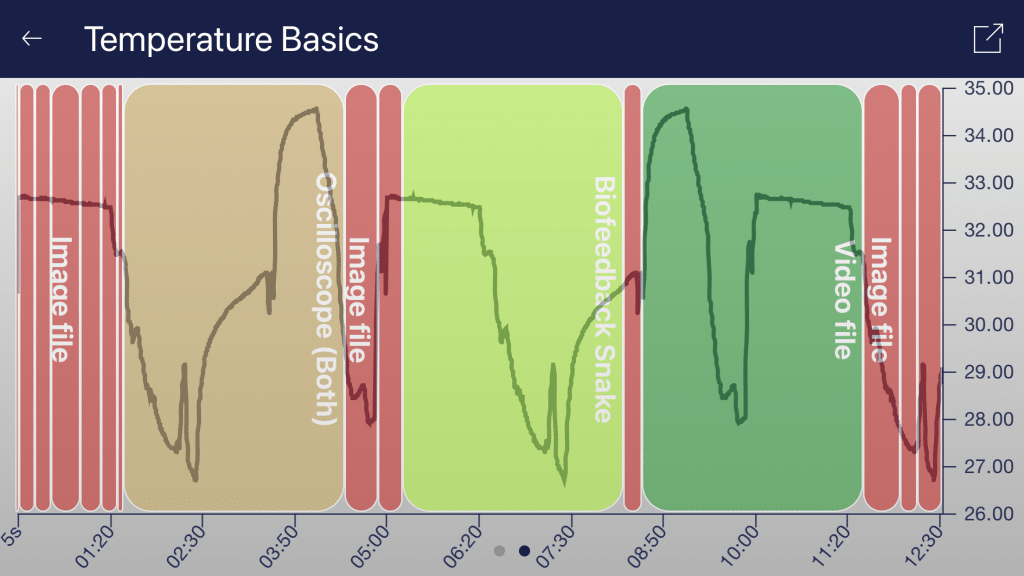
- Now you can check if a state of deepened relaxation, and the corresponding rise in skin temperature, can already be achieved without feedback. After measuring the baseline as usual, you should alternate between watching and not watching the feedback (two minutes each way). The longer and more often you can keep the temperature up without the feedback, the better your self-control has already become. When you are not using the feedback, don’t look at the values in the app.
- Perform multiple sessions in third stage. When you can keep your skin temperature up for a prolonged time and mainly without feedback, you have successfully completed this stage.
- Our eSense app offers not only the free training but also procedures. These are ready-made training programs that you can customize according to your wishes. For the best comparability of training sessions, these should always be performed under identical conditions (same time of day, electrode position and type) and of approximately identical duration. The procedures are a great help. For more information, see the relevant section of this manual.
Fourth stage (deliberate provocation, relaxation and stress coping)
- Finally, you should check if you have acquired improved stress resilience. Start a session with the baseline as usual, then keep your skin temperature on elevated levels (well above 30°C / 86°F) for a couple of minutes.
- Try to bring yourself into a strenuous situation. You can recall previously memorized everyday situations in which you had cold hands, or situations that made you tense and angry. You can also move to a stressful environment or ask another person to exert a stressful stimulus upon you. Keep the stress situation short and do not overload your ability to cope with it.
- Now under stress, observe if the temperature drops, and still try to keep the temperature at a high level and avoid temperature drops. Always change phases of stress and targeted relaxation.
- If you can sustain elevated levels of skin temperature during strenuous situations, ideally at levels above your personal maximum in the first stage, you have learned to remain relaxed and calm even in difficult and stressful situations. You have fully reached the goal of hand warming training!
Questions