Help Center
Open Training
As a second option you can also conduct an open training. This is compared to the procedures a bit more complex. We therefore explain a typical open training session which consists of 4 training phases.
Preparation and start
- Follow the first steps of preparation from the previous chapter and choose an open training in the selection screen after starting the app
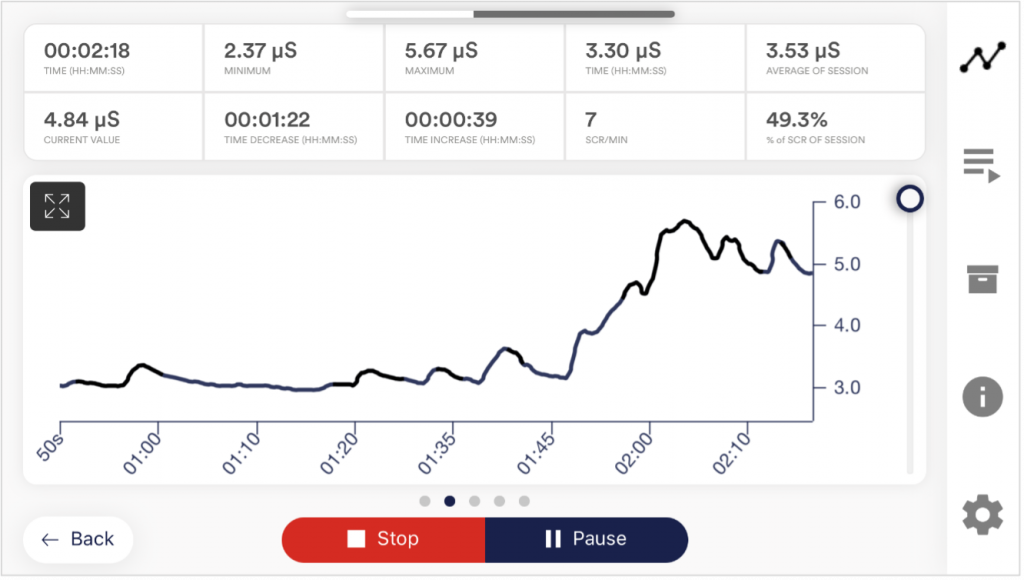
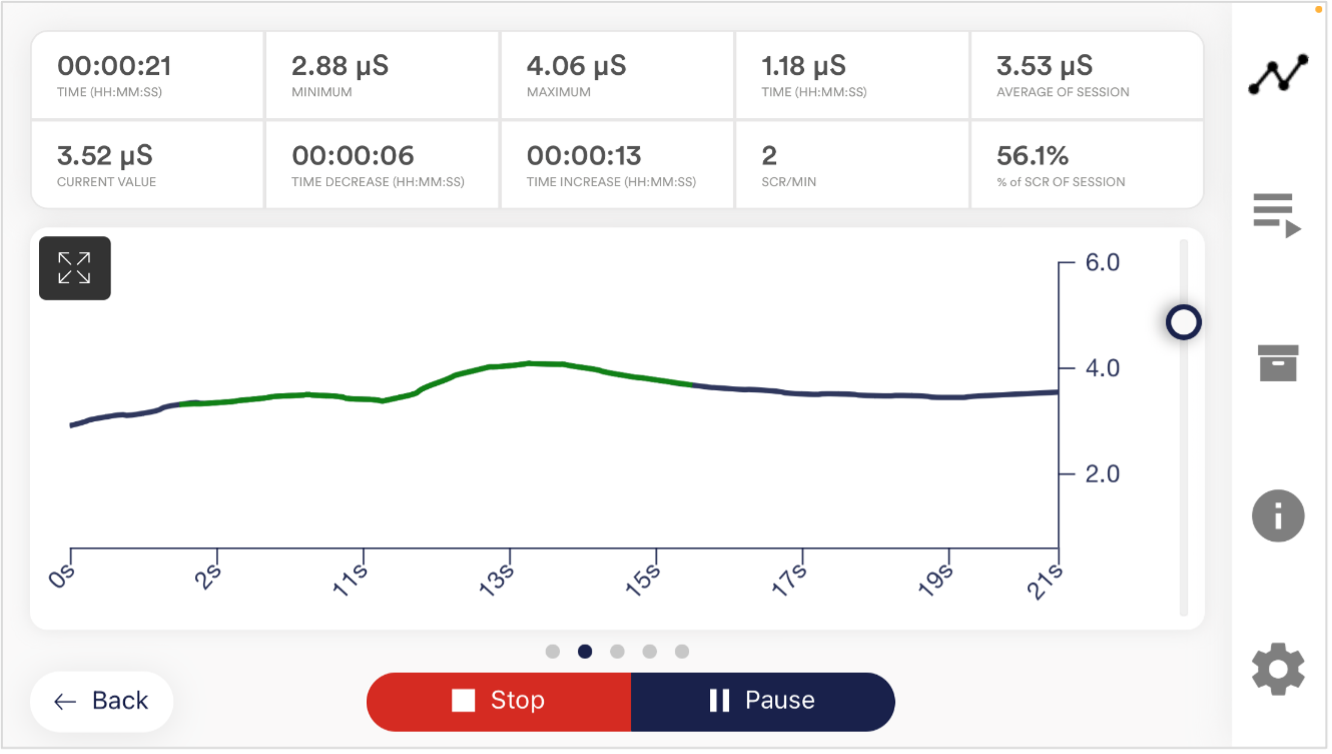
- Tap on Start and have a first look at the measured values
- For the interpretation of the measurement, we distinguish between “tonic” and “phasic” effects. The tonic component is the longer-term average of skin conductance and its development during one session. Values for the tonic level can vary between 1 to 15 µS, depending on the individual and the situation.
In contrast, rapid changes (in the app, fluctuations are called SCR [Skin Conductance Responses]) of skin conductance, often caused by a sudden stimulus but also appearing spontaneously, are the phasic component of the skin response. The stimulus can appear spontaneous or as a reaction to a stimulus. The cause of a phasal effect can be internal (thoughts, memories, and emotions), or external (images, sounds, and events). - In a state of heightened excitation, both the general tonic level and the rate of spontaneous fluctuations is increased. With low excitation and rest comes a lower tonic level and fewer spontaneous fluctuations.


First stage (observe and experiment; determine your initial status)
- Record your baseline state for ten minutes at rest without influencing the measurement. Relax as best as you can and do NOT watch the measured values for the whole ten minutes, as it would compromise a true baseline measurement.
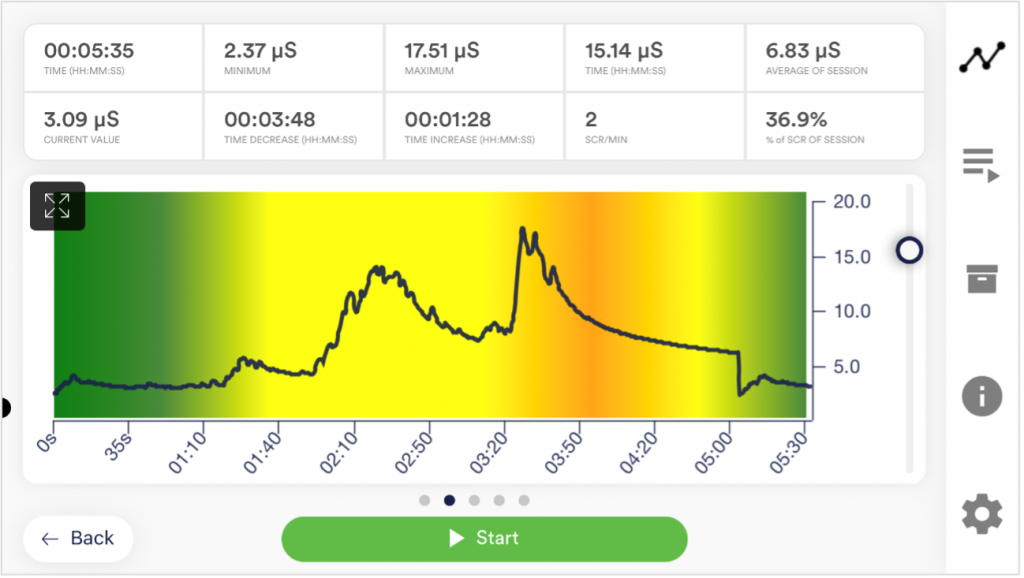
- Have a look at the complete curve and its average tonic level after the first ten minutes. Does it rise or fall in certain phases, or is the general level constant throughout the measurement? How would you judge your ability to relax during the exercise? Maybe you can already find dependencies between the objective measurement and your subjective feelings of relaxation or excitation. If you find no connection, don’t worry; you will find a connection during the sessions to come. Keep notes on the general level of the curve and the approximate number of fluctuations per minute to know your initial training status. Both of those values are shown above the graph.

- After completing the ten-minute baseline, you will be shown a survey first. Answer the questions and take notes if necessary. Answer the questions and take notes if necessary. Then you’ll see the pie charts that show you the fluctuations per minute (in the best case, everything is green) and how often the readings have risen, stayed the same, and dropped. There’s more on this topic later.
- This is your initial training state. Of course, the day also plays a role here: it should make a difference whether you measure after a stressful working day (or even at work) or at the end of a relaxing weekend. Use the corresponding function of the app to export this baseline as a CSV file. You can do this by calling the measurement in the archive. This will allow you to access your baseline later (in addition to the archive) by other ways (such as Excel).
- One more note: If the readings continue to increase for no apparent reason, the electrodes may be too tight and may simply be the cause of sweating underneath. This moisture should be noticeable.
Second stage (targeted Biofeedback training with the skin response)
- The second stage consists of multiple sessions.These sessions should always follow the following scheme. You shall now exercise conscious relaxation with the feedback signal.
- Start the measurement and watch the values for a while. Then try to bring them down through active, conscious intervention. There are many ways to do this, such as breathing in a controlled and calm pattern, using techniques of muscle relaxation or autosuggestion. The exact way is up to you, your knowledge on relaxation and your will to experiment. Also observe small changes in the measured values. A part of the training focuses on the general reduction of the tonic skin conductance level, while a second part focuses on the reduction of the fluctuations.
- Both the intensity of a stimulus and its subjective significance will influence the amplitude of the consecutive skin response. The stimulus can be internal in nature (thoughts, memories and emotions), or external (images, sounds and events). Inevitably, it will happen to you that you feel less able to relax; for example, because of negative thoughts. If you notice a rising skin response as a result, try to bring it down again. Taking a deep breath brings up the skin response as well, so try to bring it down again.
- In the second training phase, the aim is to lower the general level of skin conductance and reduce the increase as a result of a stimulus as quickly as possible. They train to reduce their general tension and be able to switch off flexibly after stressful situations. In the app, you should decrease the average of your sessions and the number of fluctuations (SCR / min and total SCR).
Third stage (deliberate provocation, relaxation and stress coping)
- We will now actively use stress stimuli (stressors) to improve your ability to deal with them. Skin conductance biofeedback is particularly suitable for the use of targeted provocation methods because it shows a timely and sensitive response to a stimulus, and because this response is also proportional to the strength and significance of the stimulus.
- Start the measurement and watch the values for a while. Then try to relax. The training starts with a rest period of a few minutes.
- Now a selective stressor should be applied. This can be a certain thought, sound or image with a negative connotation. Almost every person knows certain things or situations that distress themself. For example, if you have trouble speaking out loud before a larger group of people, try to imagine the situation and hold a speech before them. Under the influence of such a stressor, you are likely to see a surge in skin response. Try to relax to bring it down again and reduce the spontaneous fluctuations.
- Alternate phases of relaxation and stress stimuli during the session. After three or four rounds, you should finish the session with a relaxation phase. Also, don’t overstrain yourself. Perform multiple sessions over a longer period of time until you have the impression that your stress response is significantly reduced, or you recover quicker after a stressful situation.
Fourth stage (transfer; relaxation without feedback)
- Now you can check if you can achieve improved relaxation with lower skin response levels and less fluctuations, even without feedback. Record a ten-minute baseline WITHOUT watching the measurement while relaxing as best as you can. Afterwards, compare it to the baseline measurement from the first stage. Your overall level of skin conductance should have dropped, and/or the spontaneous fluctuations should have reduced. Your daily condition can affect the measurement a lot, so repeat the record of the baseline later again if you feel you had an unusual day.
- As a more challenging transfer exercise, exert stress stimuli on yourself as you did in the third stage, but this time WITHOUT looking at your values. Try to maintain your relaxed state and check afterwards if you succeeded. Have you been able to keep your skin conductance comparatively low and limit the amount of fluctuations, even without the immediate feedback by looking at the values? If you’re able to do this, and your baseline has also dropped in comparison to the first stage, you have successfully completed the stress reduction training. When you encounter stress situations in everyday life, recall the training situation, and use your new skills to stay relaxed. Skill comes with practice!
- Our eSense app offers not only the free training but also procedures. These are ready-made training programs that you can customize according to your wishes. For the best comparability of training sessions, these should always be performed under identical conditions (same time of day, electrode position and type) and of approximately identical duration. The procedures are a great help. For more information, see the relevant section of this manual.
Questions